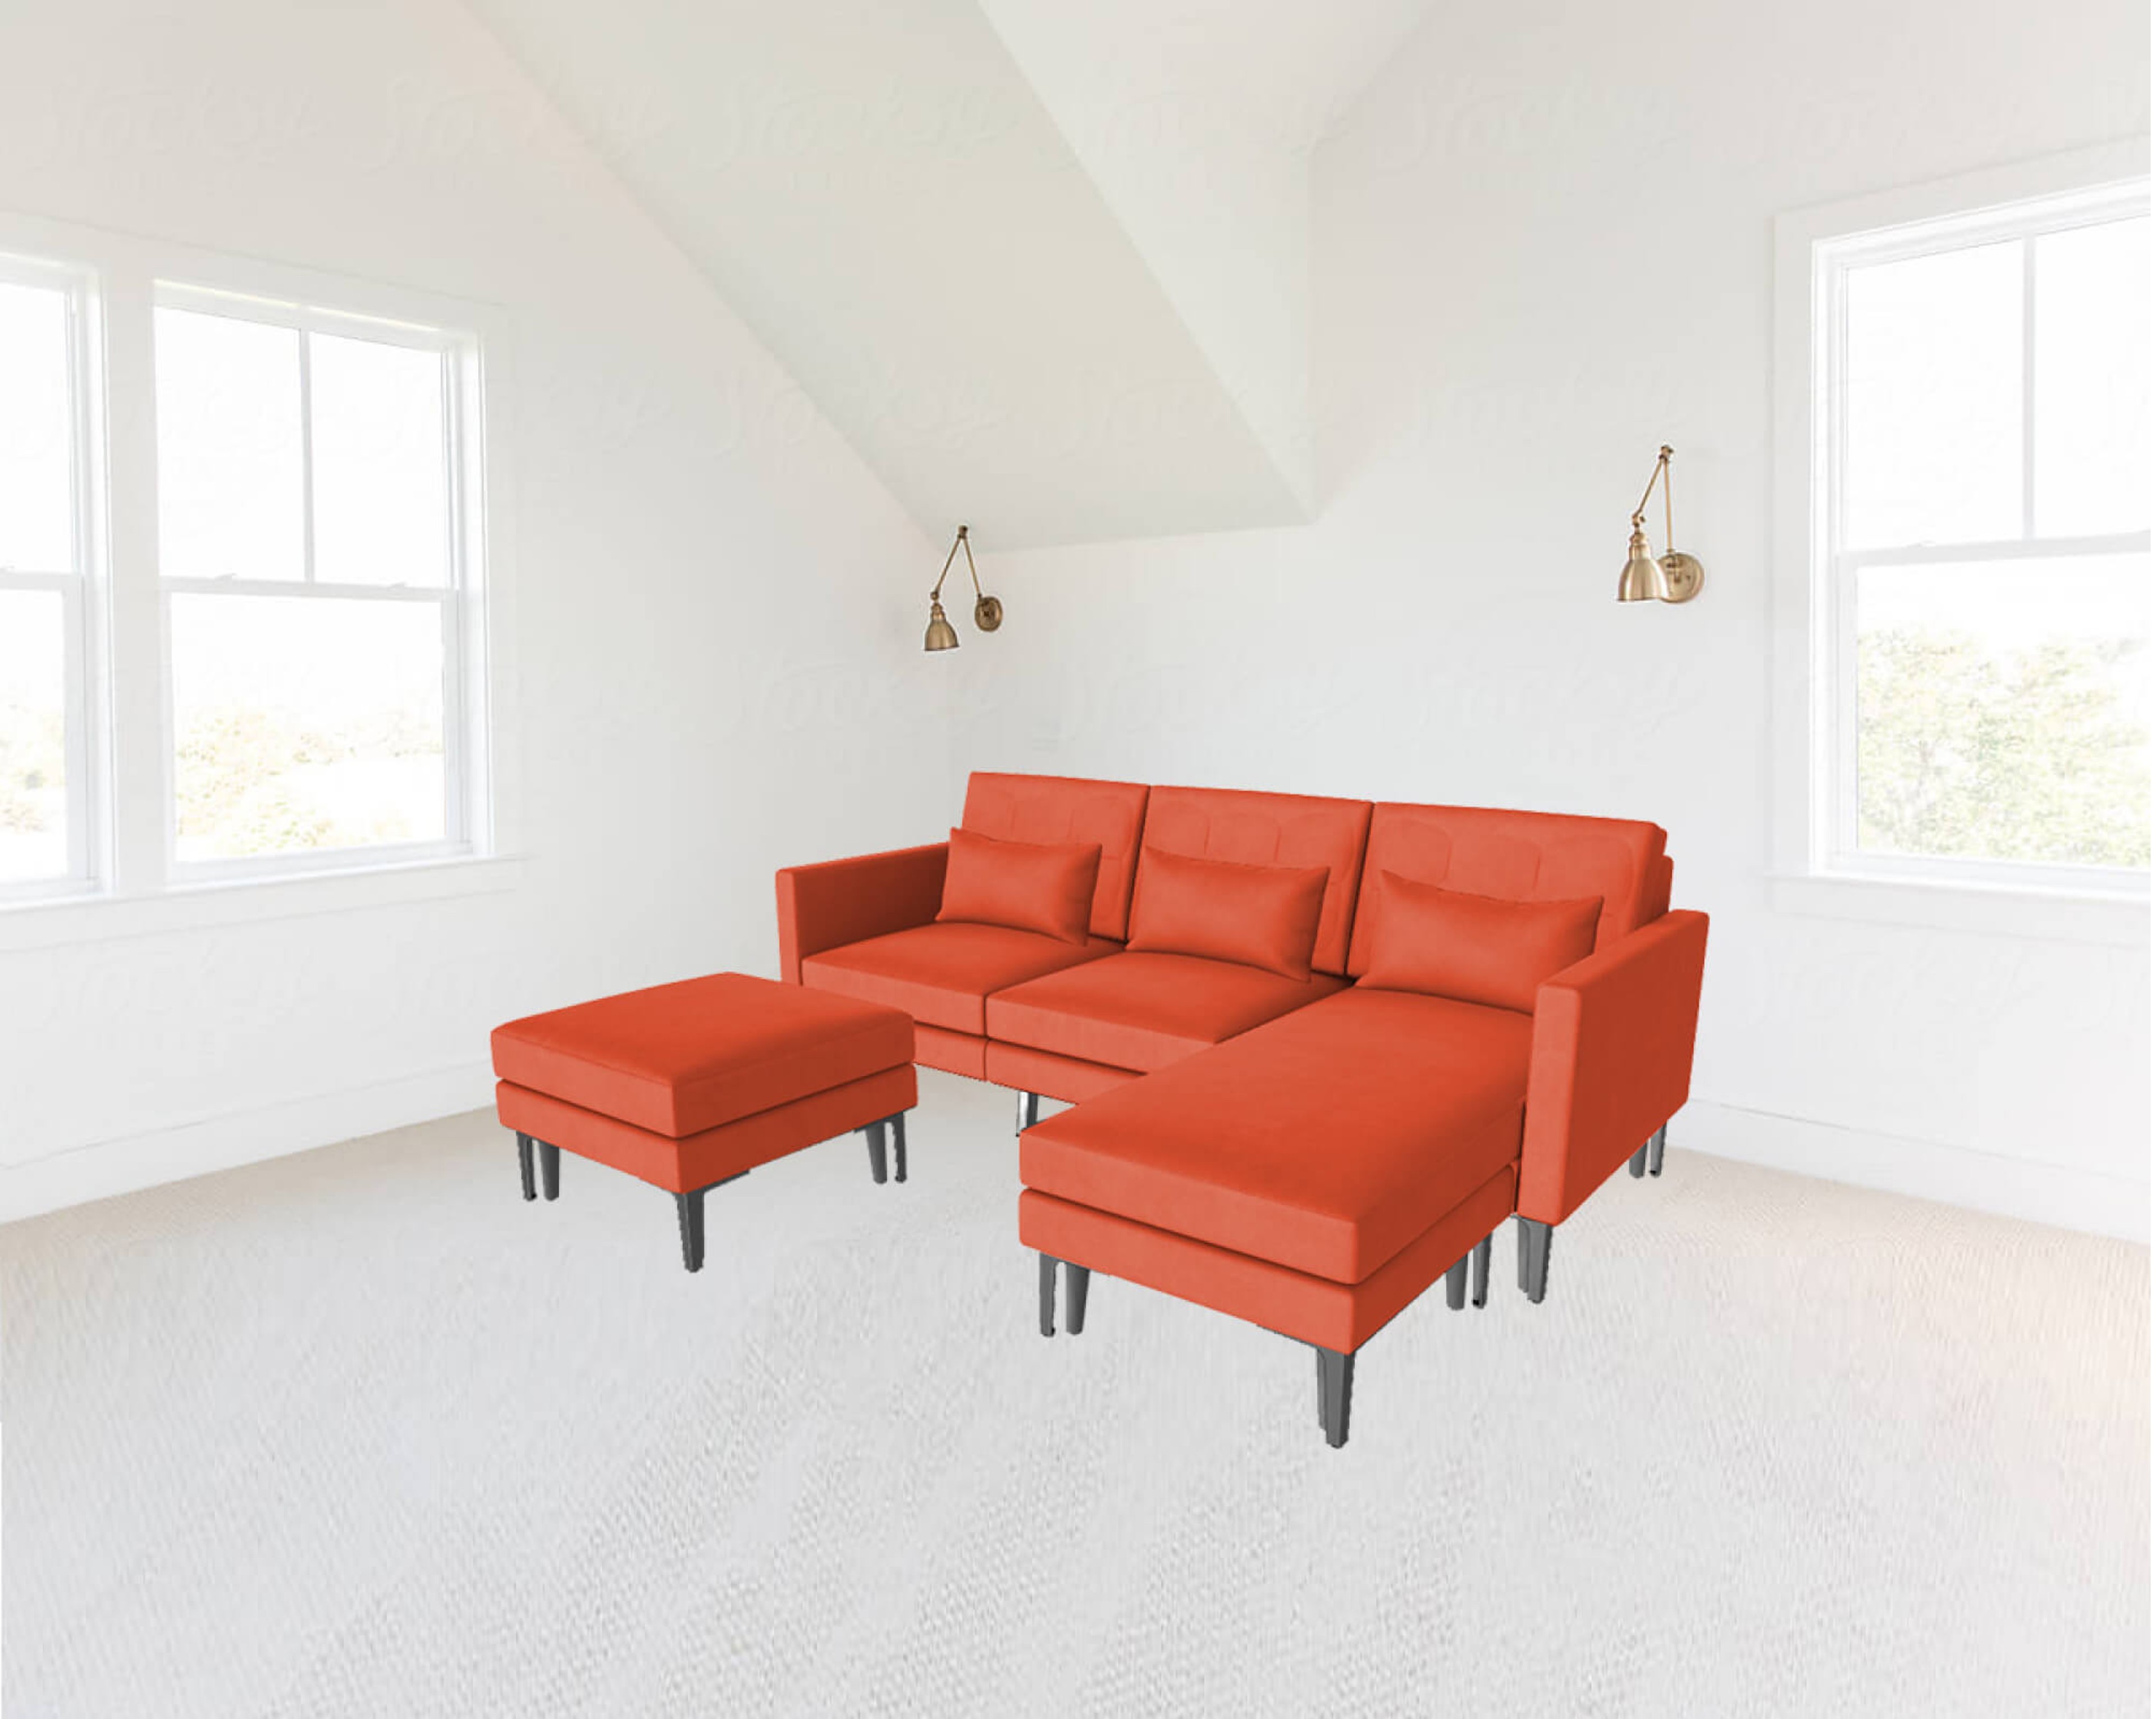
Camera Controls
Camera controls allow users to determine and specify how a product will be viewed within a 3D configurator or visualizer. This allows users to set a predetermined viewing position of the product to deliver the best visitor experience.
Camera settings within Dopple Visual can include:
Framing On Load
How is the product framed on the screen when it loads, what is the default zoom level, at what angle is the product positioned?
Sensitivity of Movements
How sensitive is the camera position to user inputs and at what speed does the model react and move?
Zoom Levels and Limitations
Determines the maximum and minimum zoom levels available to users
Orbit Constraints
By default, users are able to rotate 360 degrees around the Y axis and 180 degrees around the x axis. Users may choose to restrict orbits where a viewing angle is not needed
Ex: a user may restrict the orbit for a tool where the bottom does not need to be shown
Reset Camera
Reset camera defaults to initial load settings, but may be programmed to reset to alternative parameters
Camera Control Use Cases
Set Zoom Limits To Enhance Viewing Experience
Shoppers want the ability to view products in detail, but no one wants to accidentally zoom in or out way too far. Restricting zoom levels allows users to view products from all angles without the risk of over-zooming.
Position Products At Their Best Angle
3D configurators and product visualizers are designed to allow shoppers to view products from all angles, but that doesn't mean you can't optimize their first impression. Camera controls allow you to choose the default position of your models, ensuring that the product looks its best on every load.
Save Development Time On Models
There are some angles that no one needs to see on certain products, so why spend time and resources on them. Restricting orbit to showcase only the angles that are needed to drive product education and purchase decisions creates a better buying experience and prevents wasted development time.
